Crafting a Casual Cosplay “Legend of Korra” Hoodie
In the following, I will outline the process of transforming a blue hoodie into a Korra-inspired casual cosplay.
Materials
- a blue hoodie (example that I used)
- fake white fur (I used about 85cm * 10 cm)
- white fleece (at least 22cm * 22cm)
- sewing supplies (nothing too fancy - just some white thread, sewing machine/needle, pins, scissors, etc.)
Design
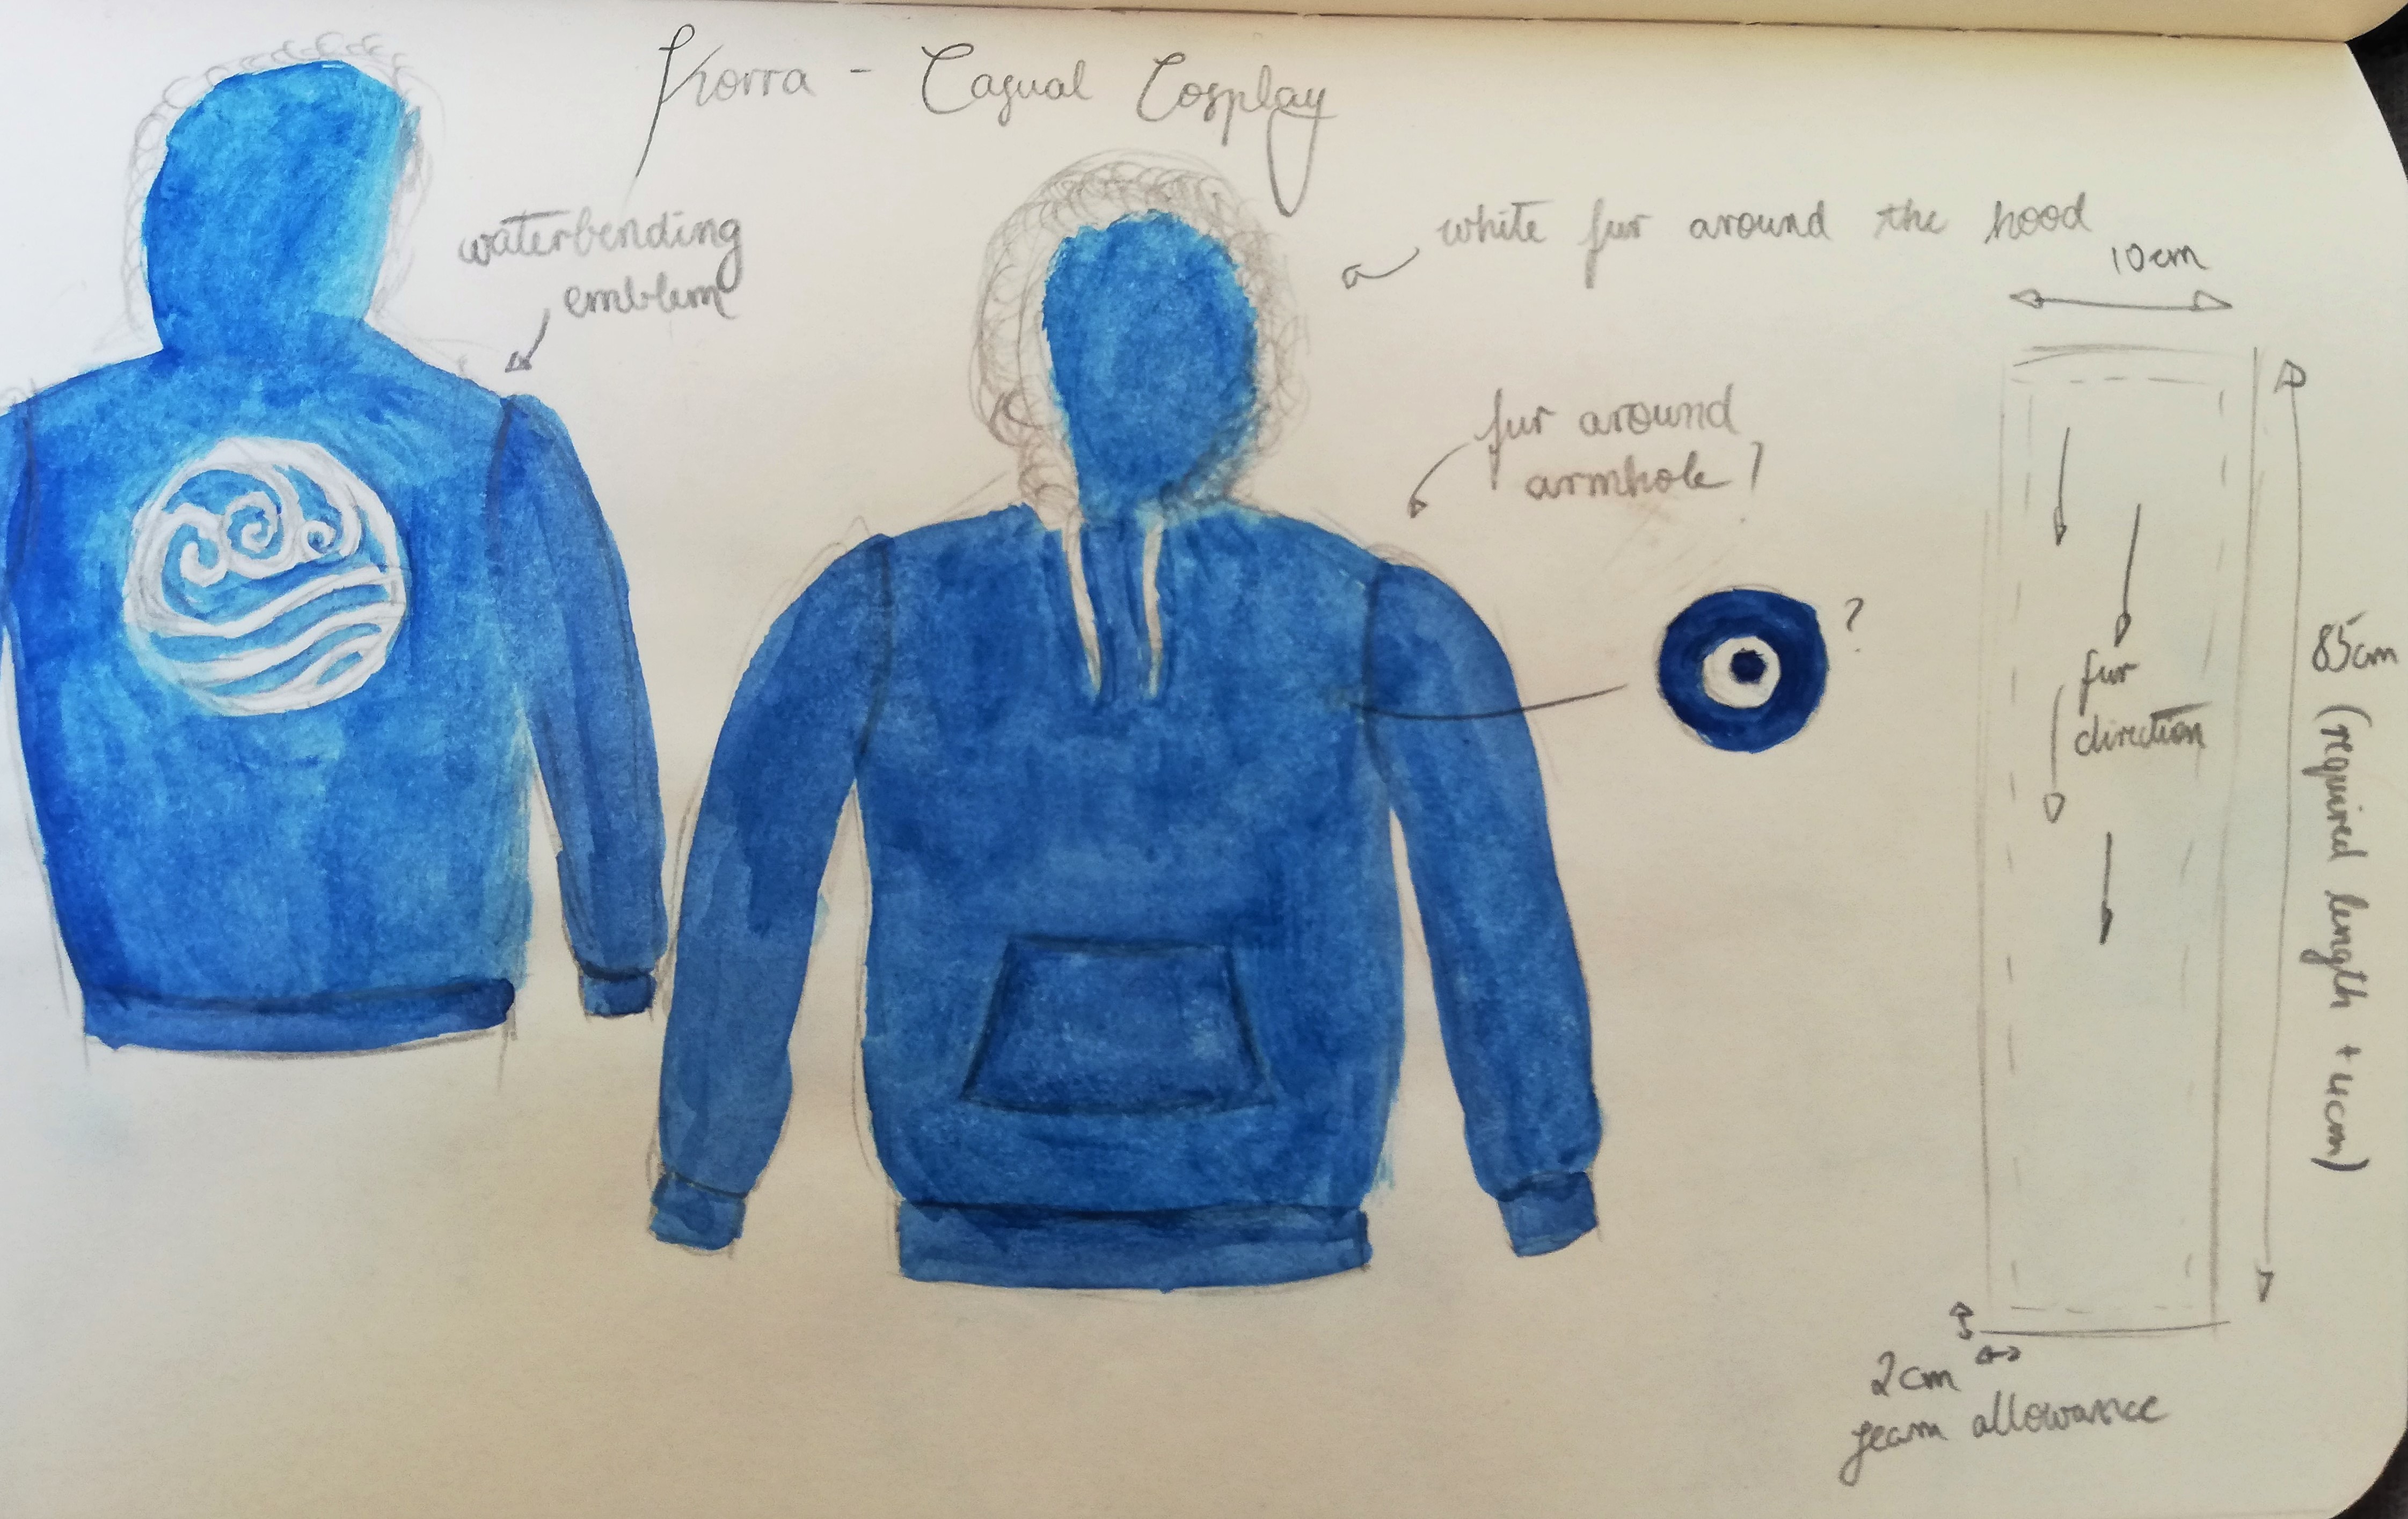 For the materials, I chose a white fleece for the emblem as it does not fray; hemming the edges would have been difficult to impossible with the amount of curves and detail in the waterbending icon.
Crafting Process
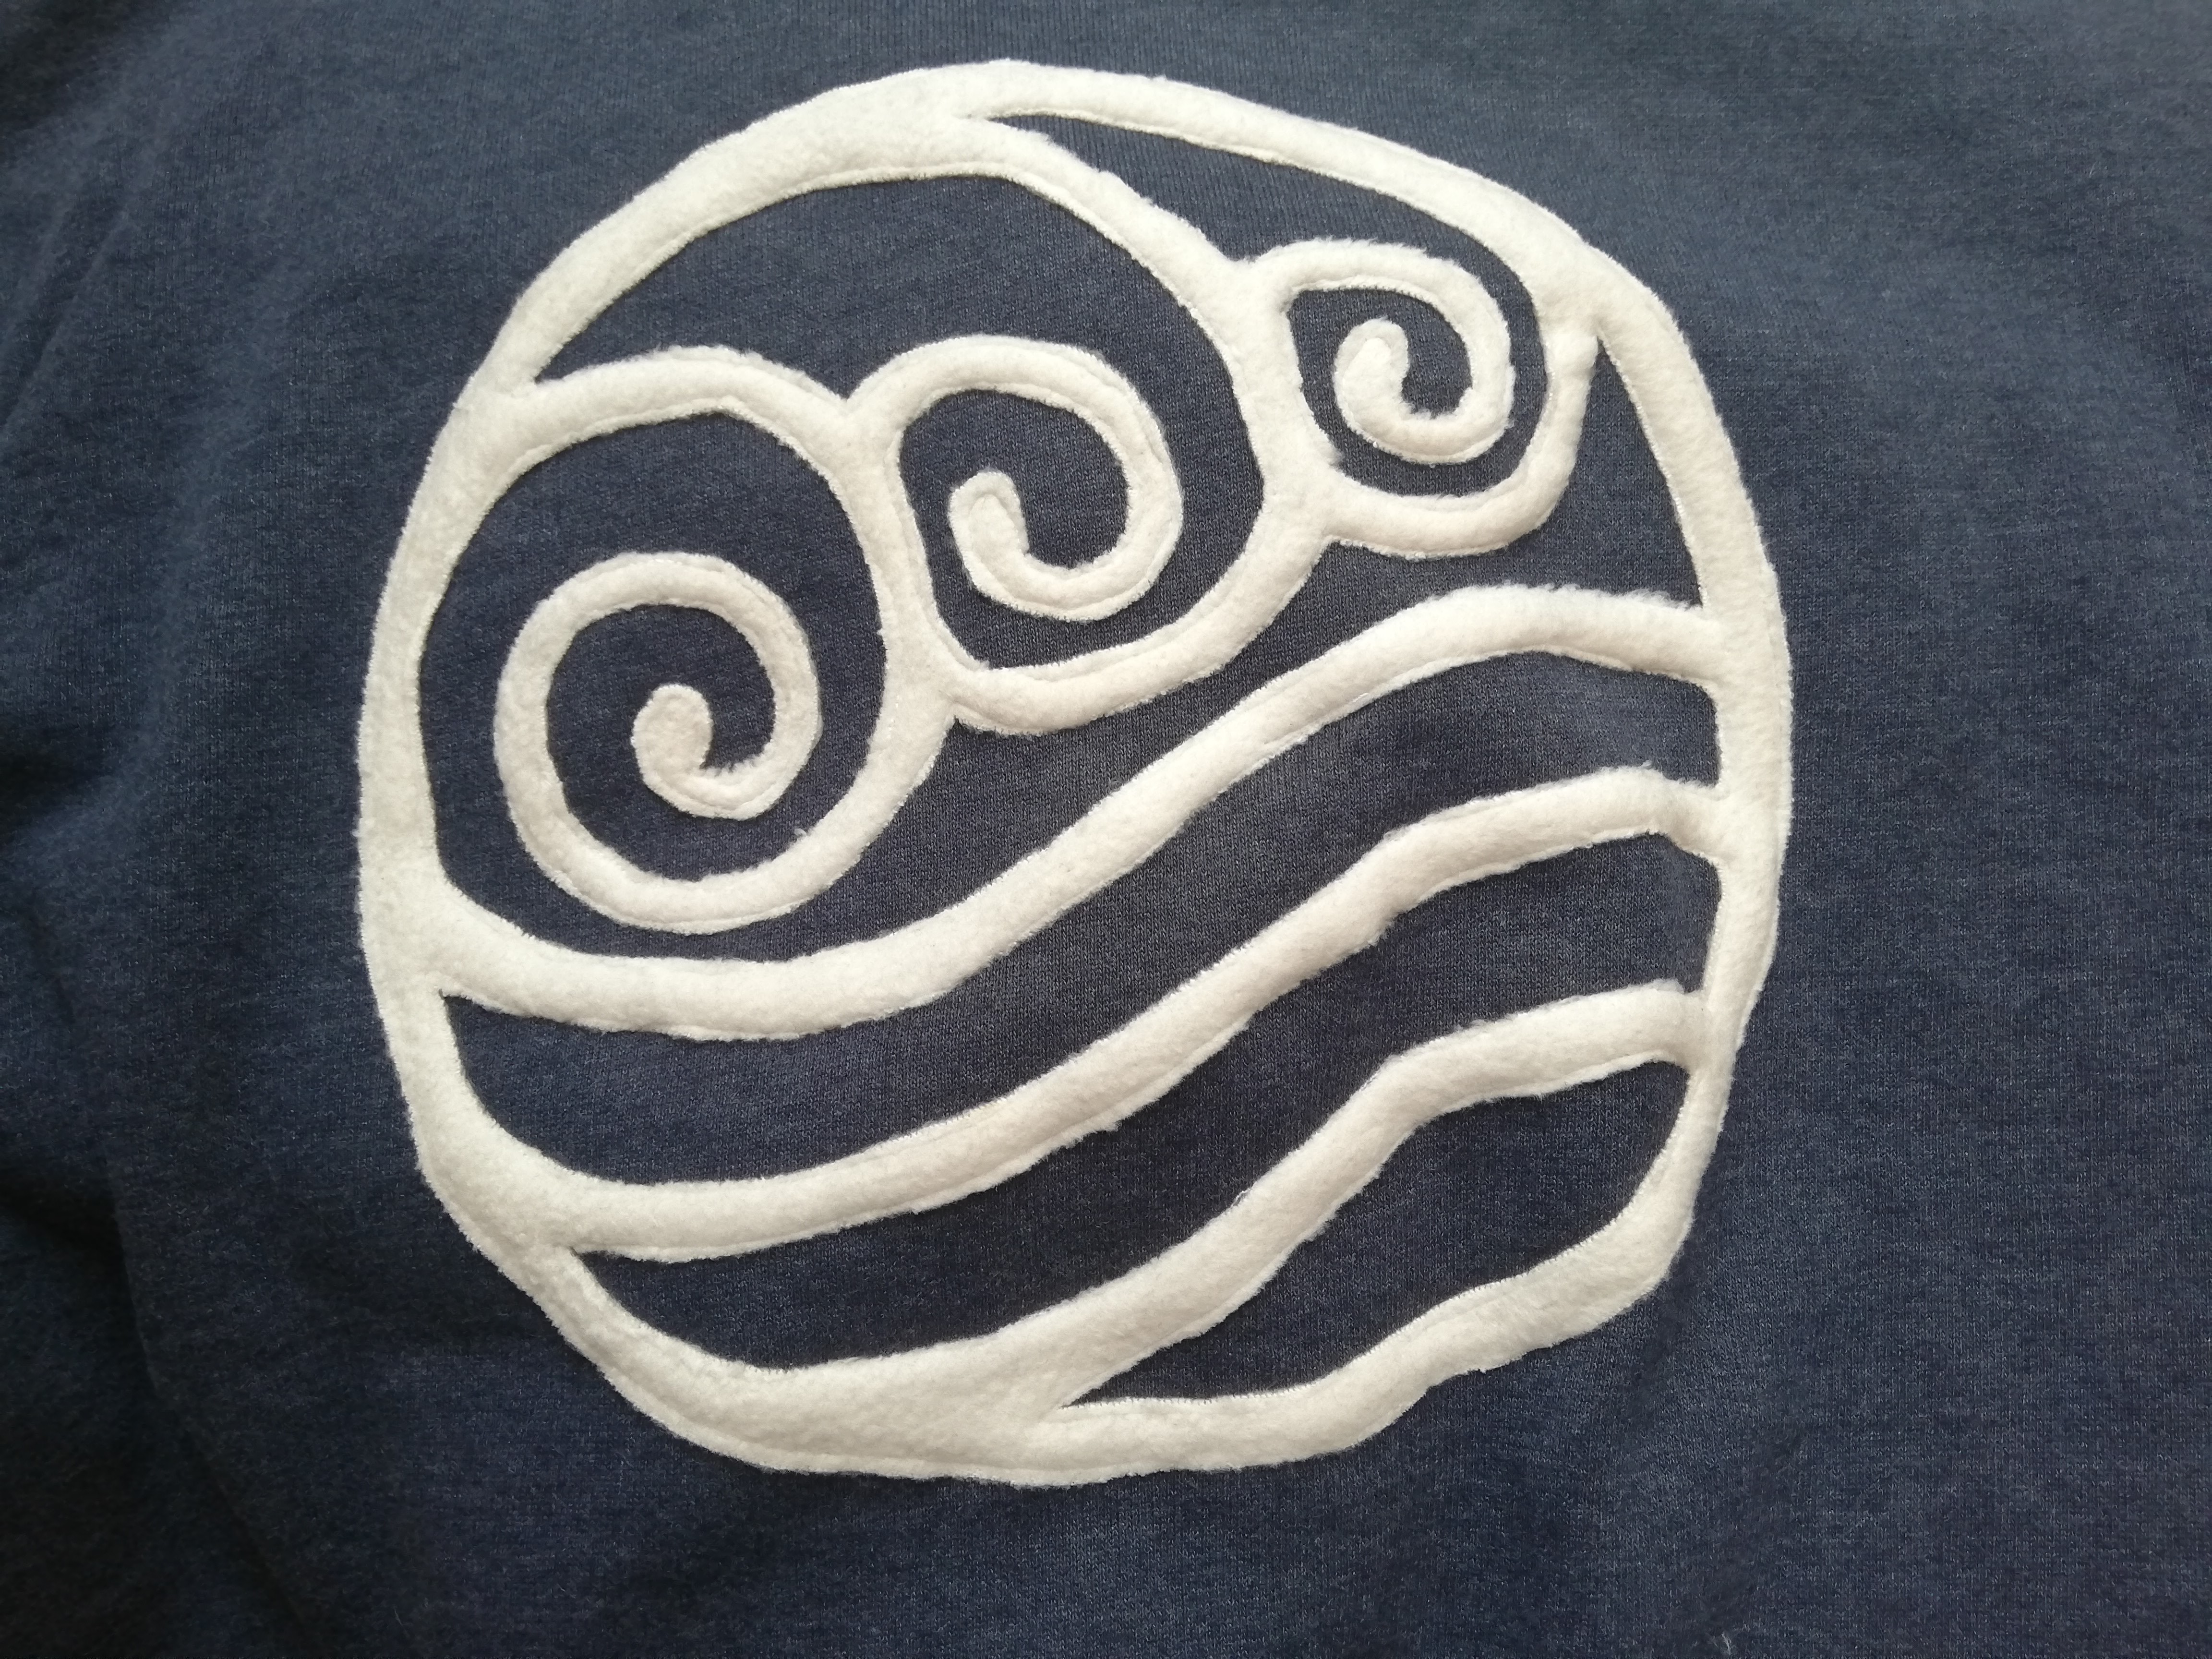
The Emblem
For the emblem, I started by printing a reference image with the diameter of 22 cm. After cutting out all the details I tried to lay the paper onto the fleece with as little distortion as possible. After pinning the paper template to the fleece, I cut out the fleece emblem with some small scissors.
Now, I laid the fleece emblem on the hoodie. As I hadn’t ironed any interfacing on, it was very distorted, so I had to gradually adjust it by laying the paper template on top and correcting the positioning. When I was finally happy with the proportions, I pinned and hand-basted the fleece into place.
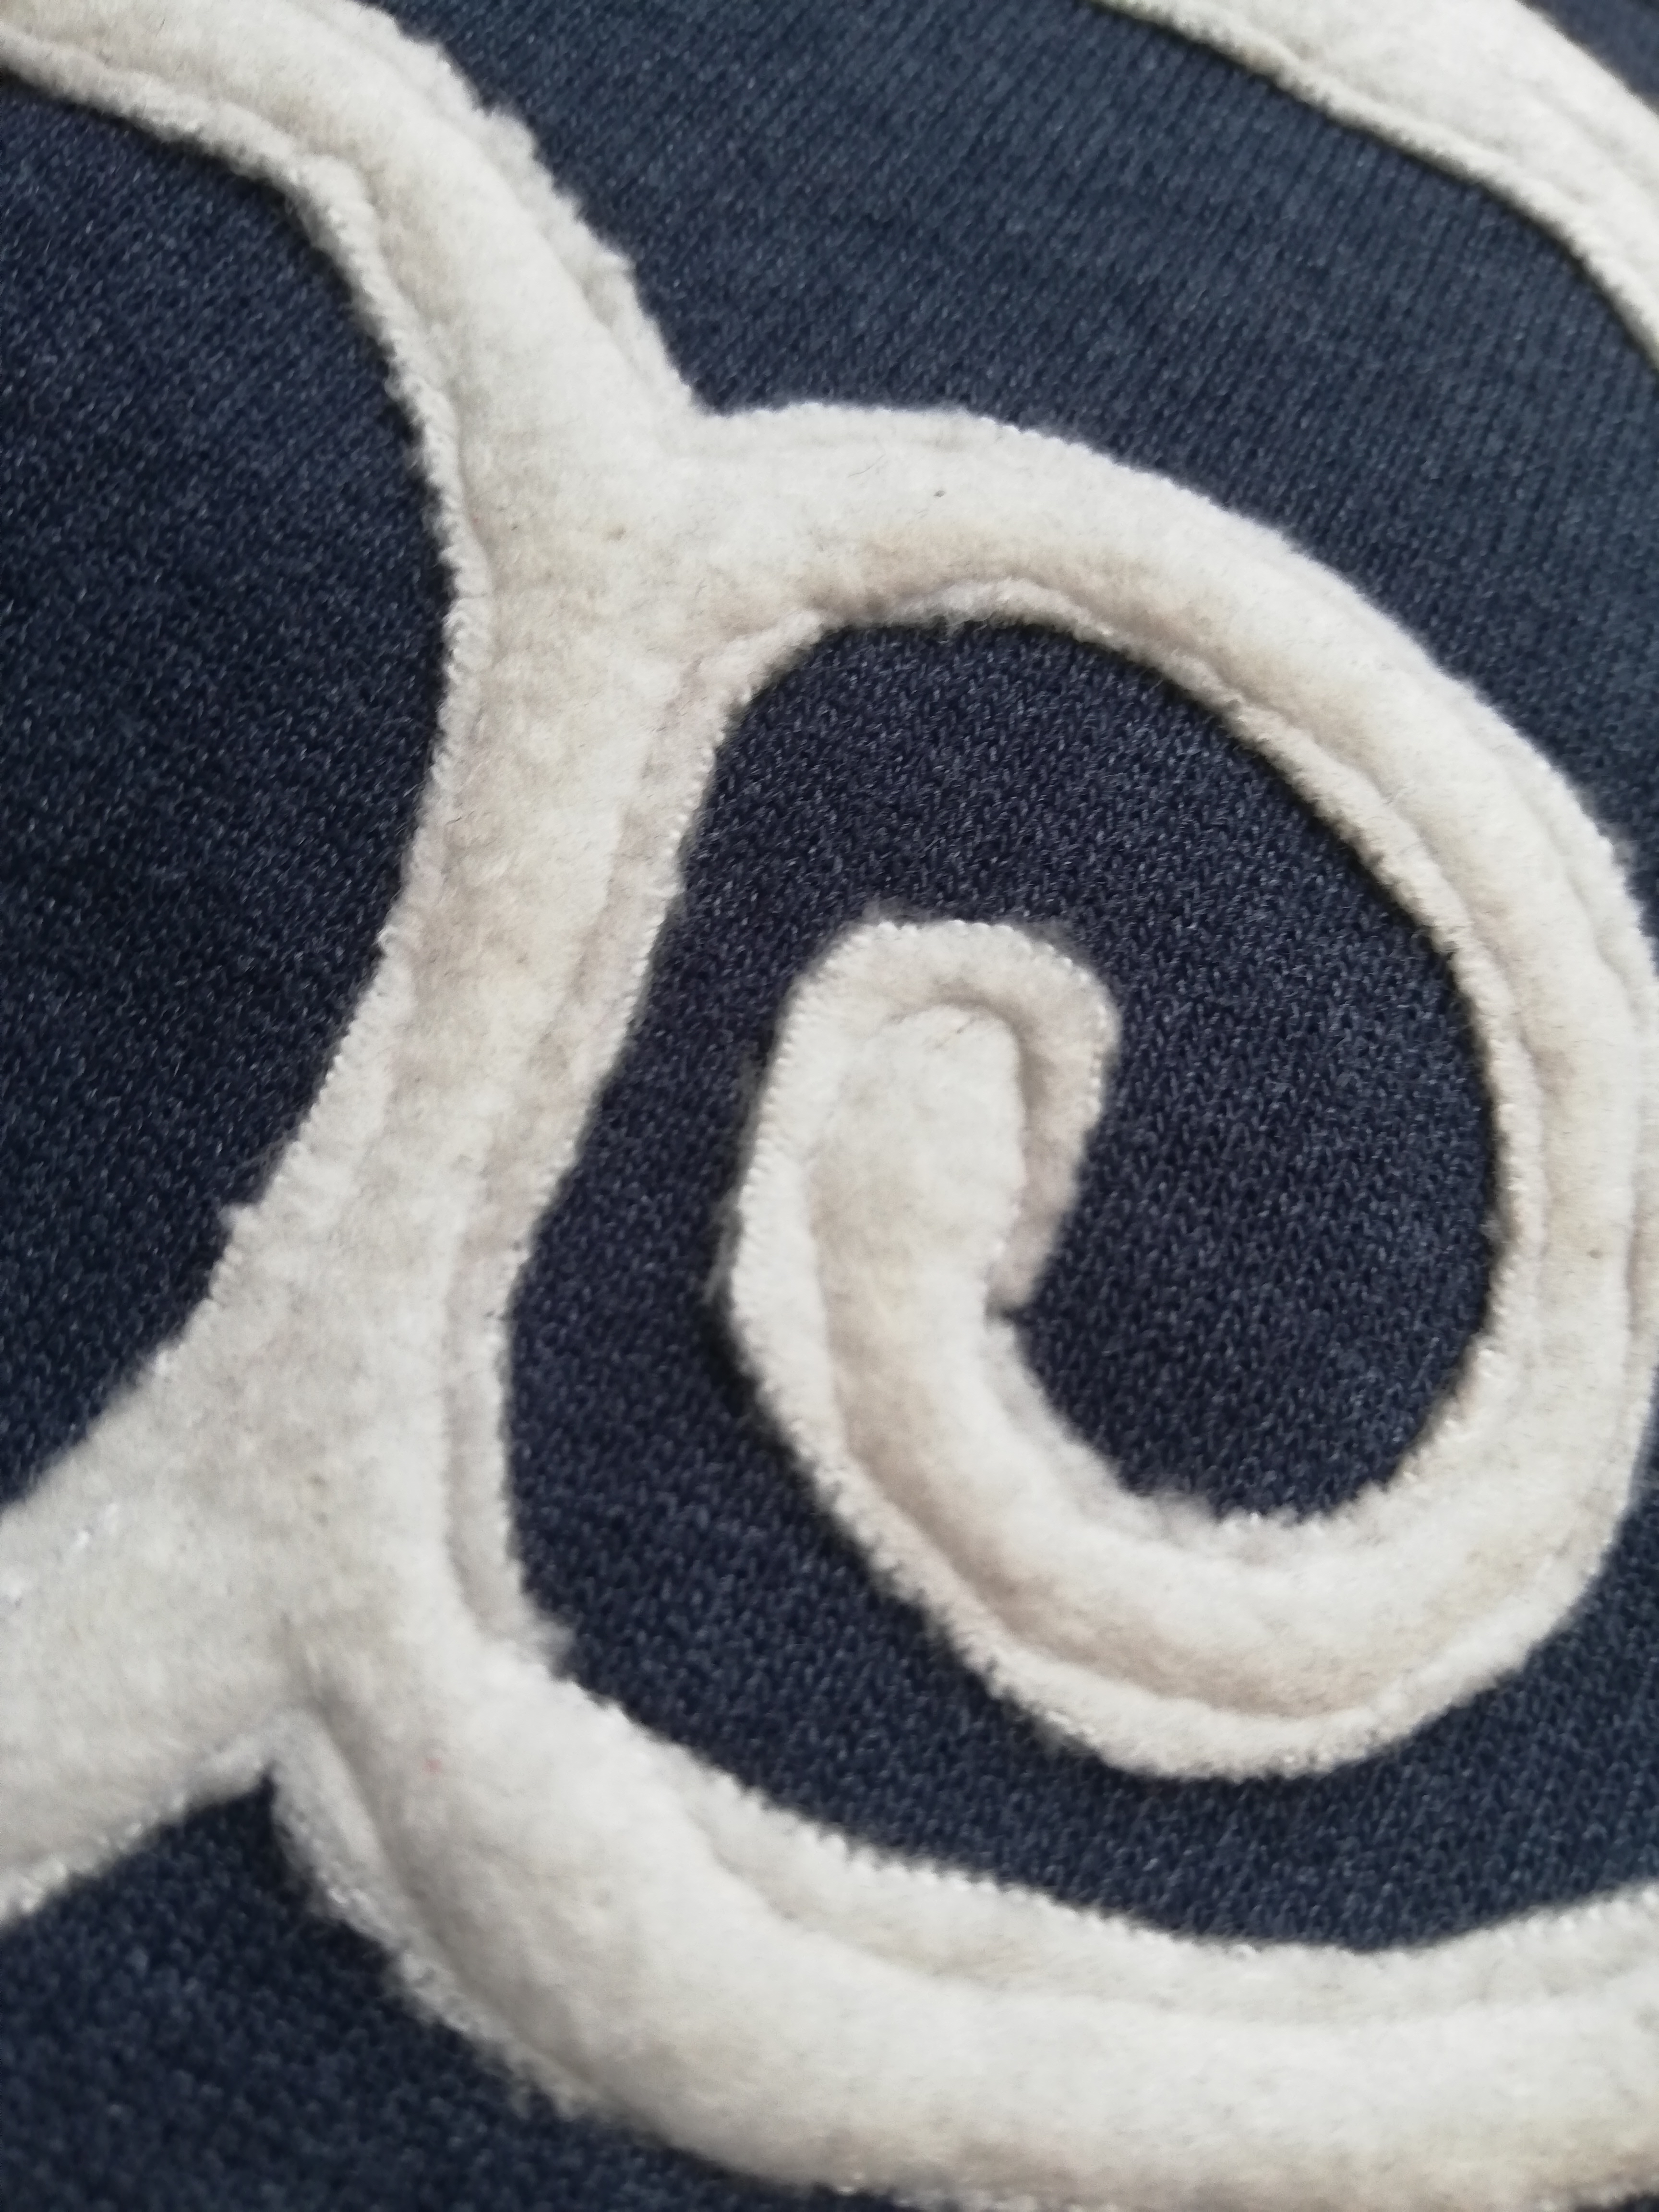
I then took it to the machine and carefully sewed around all the edges. After ironing it, the result still looks wonky from a closeup perspective but alright from afar. Better overall results could have been achieved by being more patient with the machine or handstitching it altogether.
The Fake Fur Hood
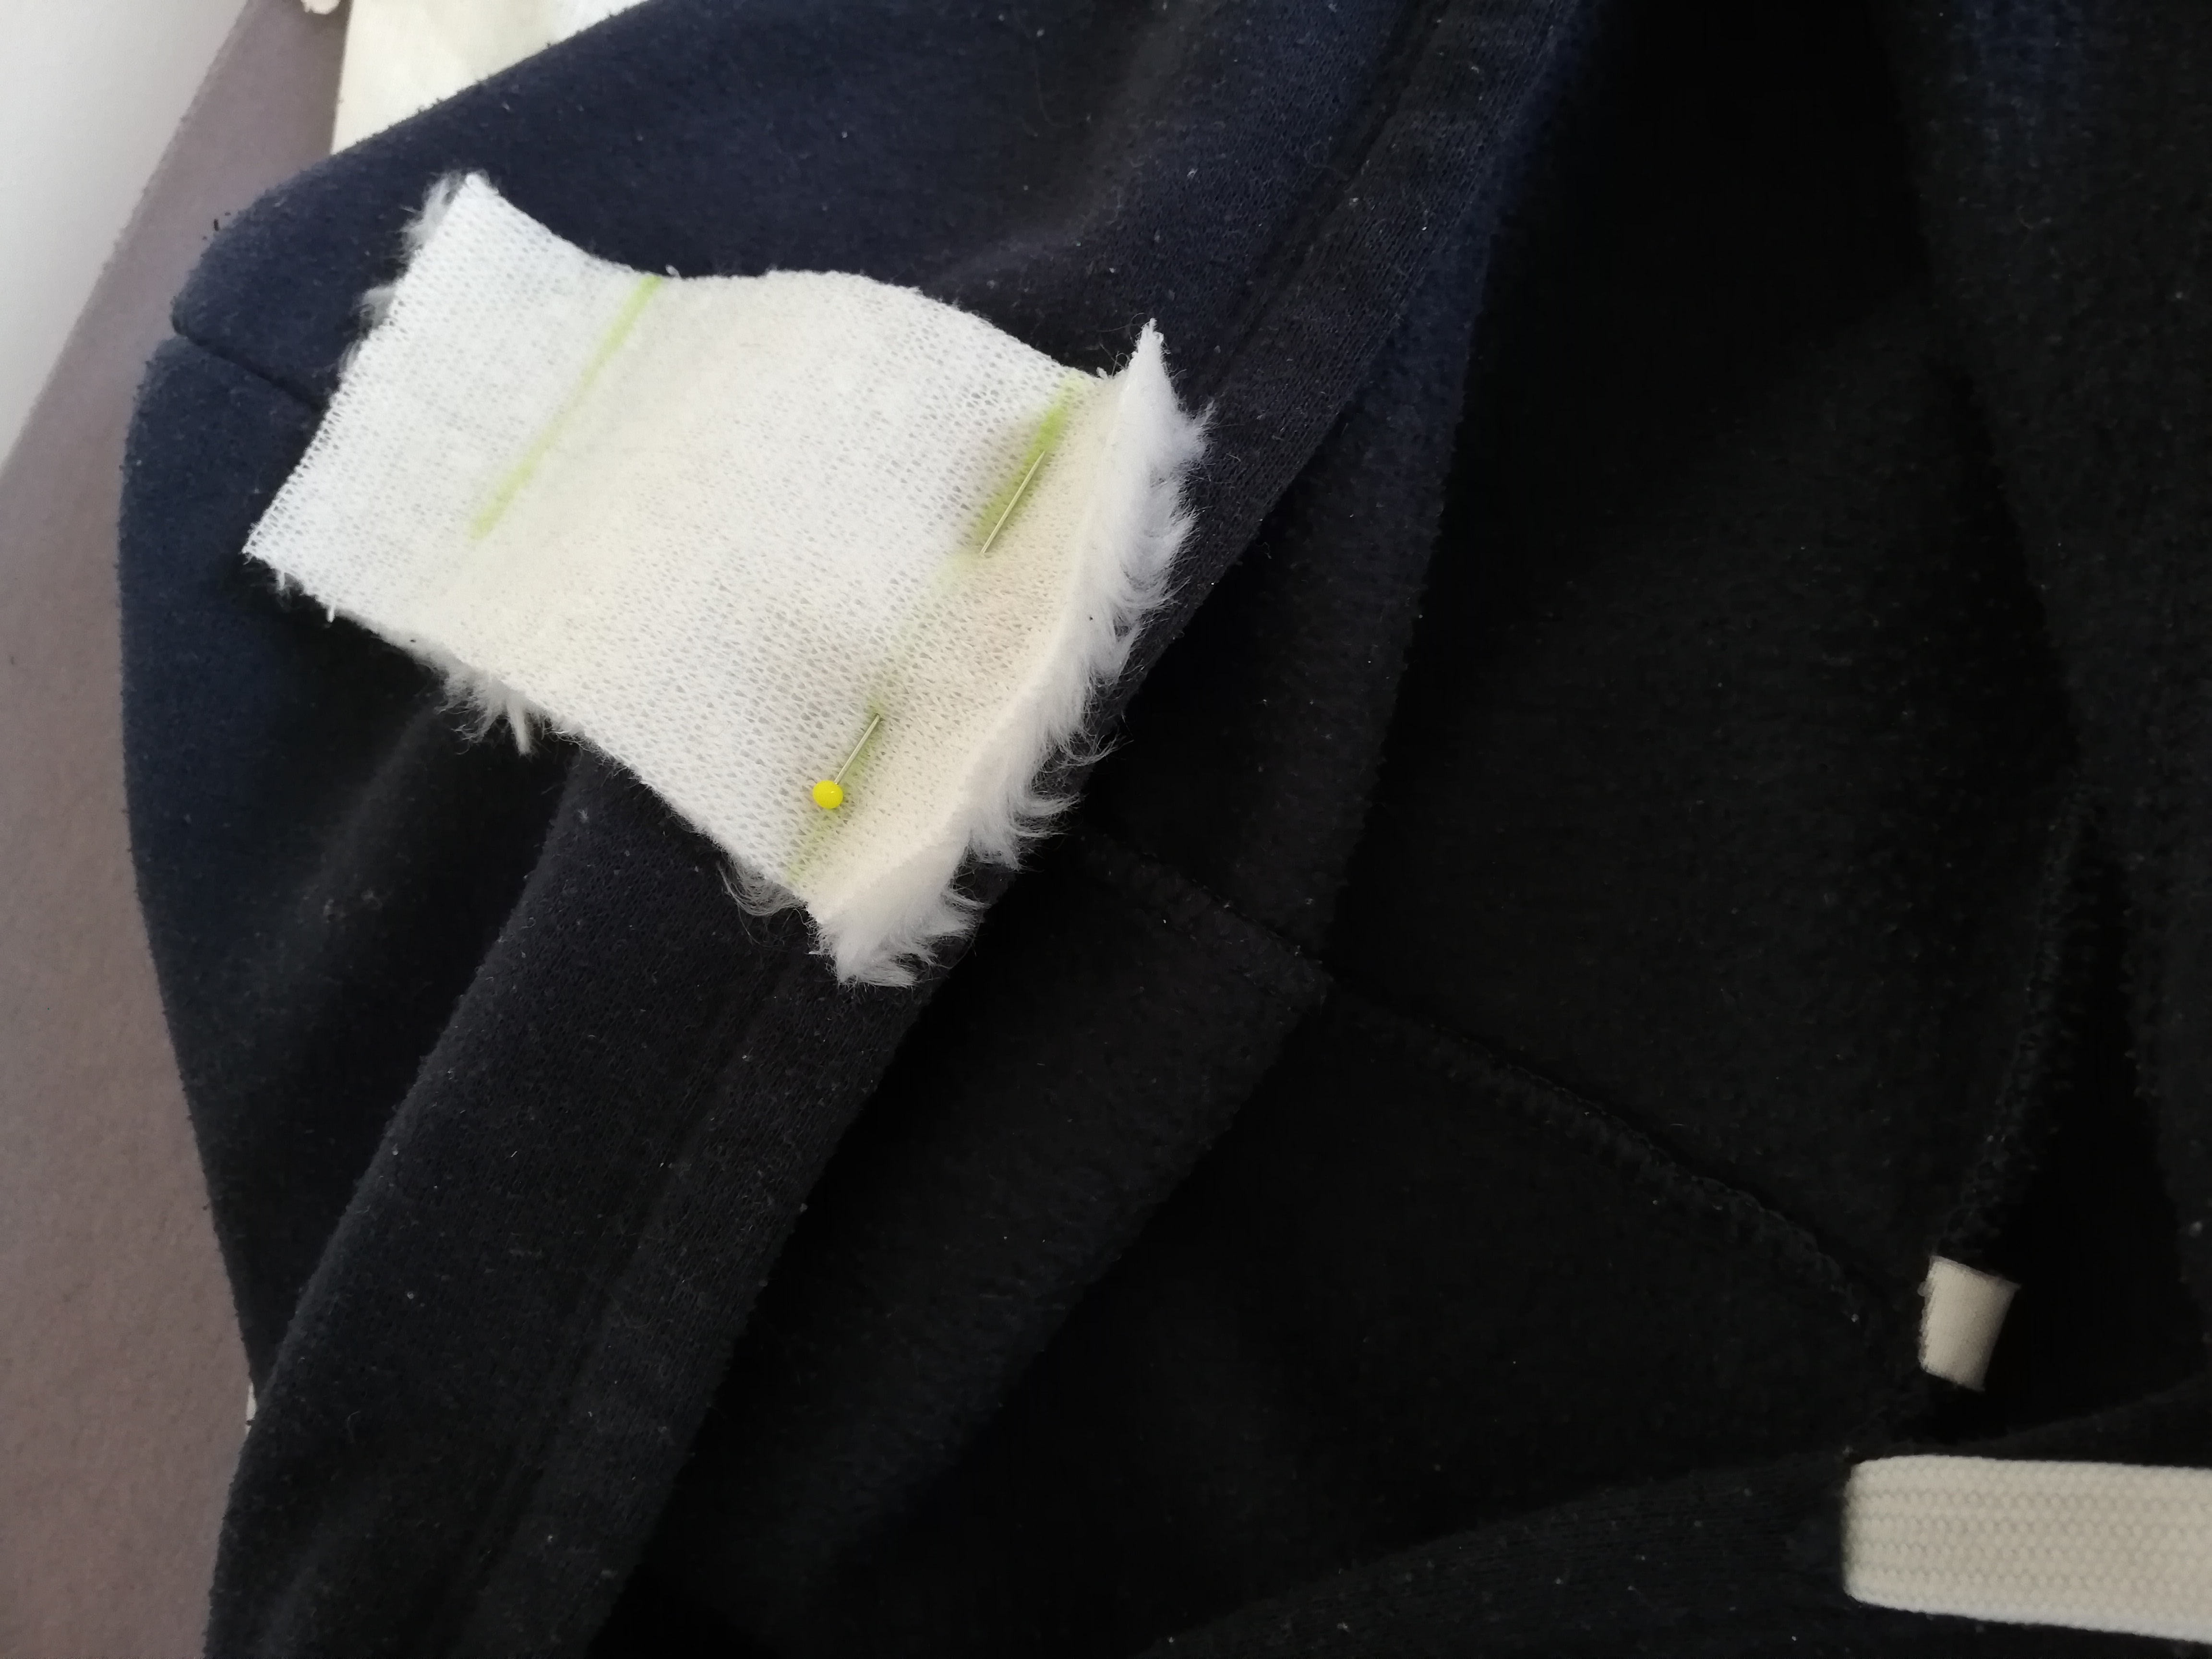
For the fur hood, I cut a piece about 10 cm * 85 cm. More detail can be seen in the following figure:
 I was unsure whether to make the fur band detachable, as a) detaching it might allow for a more casual look and b) I was worried, it wouldn’t survive a washing machine cycle. I ended up washing a small test piece of the fur and it turned out alright, so I decided to sew it on. For attaching the fur piece, I aligned its middle with the center of the hood. Then, I pinned them together like that.
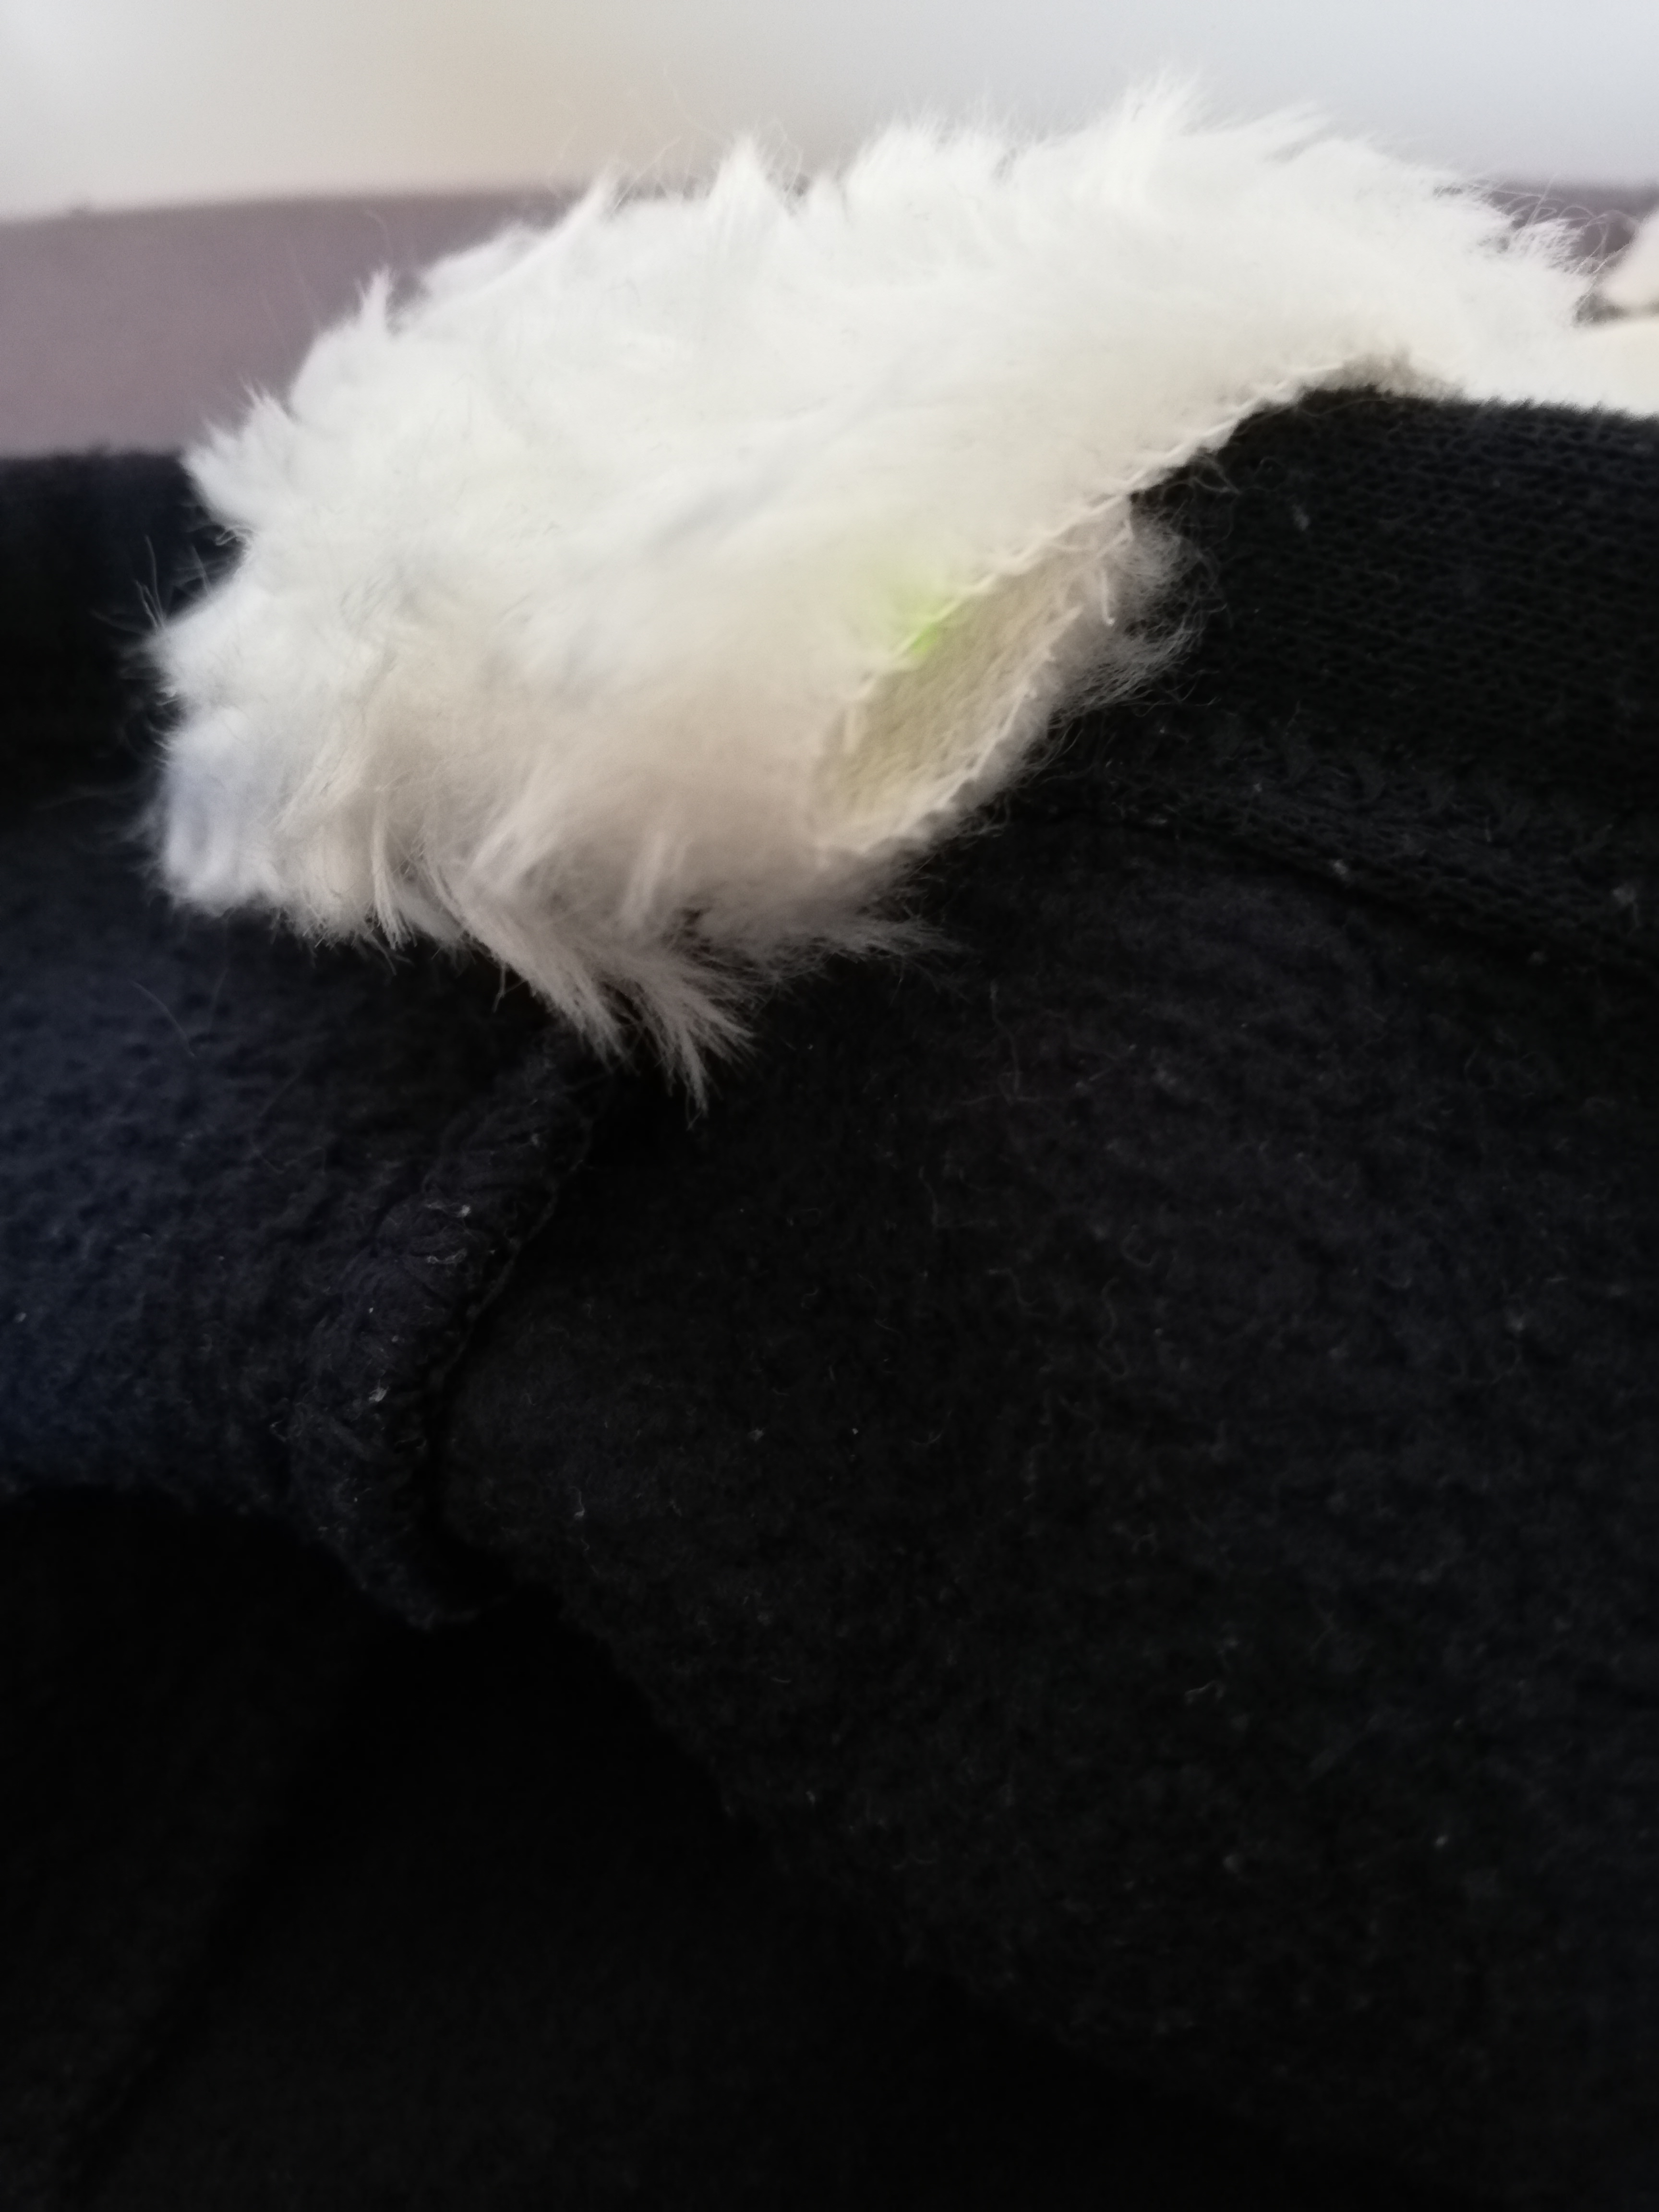
 After pinning all the way around, I trimmed the ends at the openings for the drawstrings of the hood and hemmed them by hand. Then, I sewed it all down. For finishing the fur part, I folded over the inner seam allowance and pinned the rest in position, as can be seen in the following image.
 The last step was slip-stitching the fur in place. That’s it for the hood!
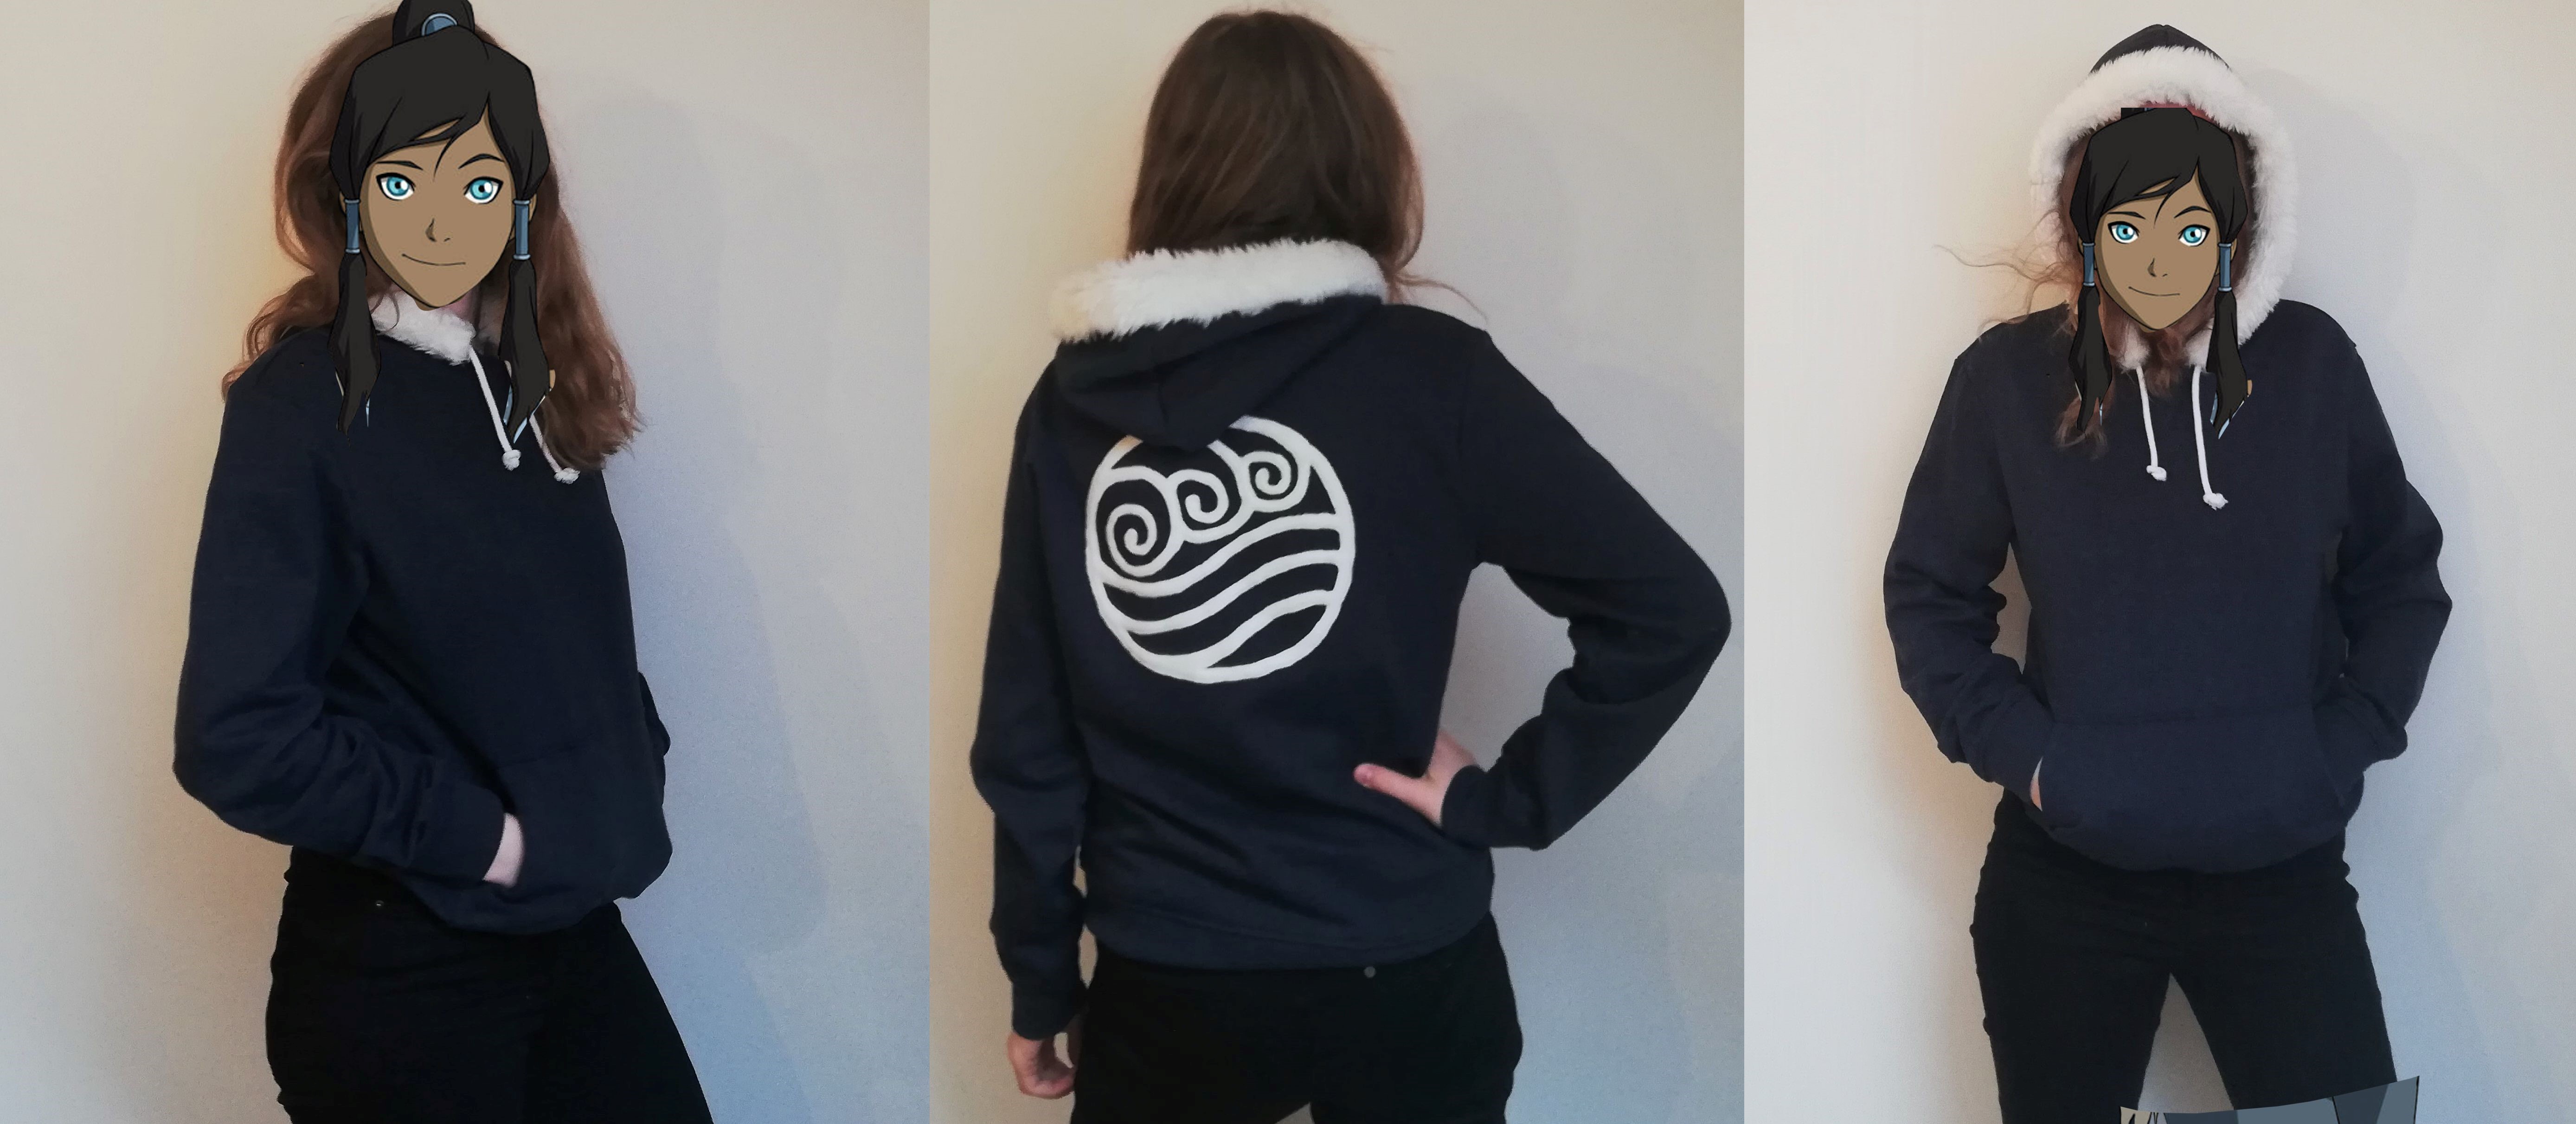
The Result
Overall, I am very happy with the final result! I really like how it turned out :)